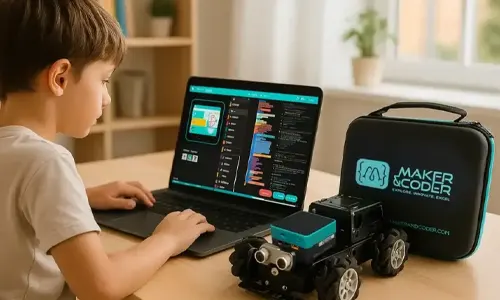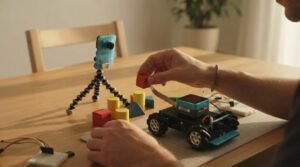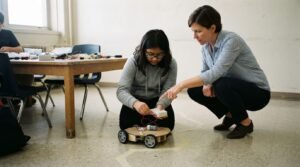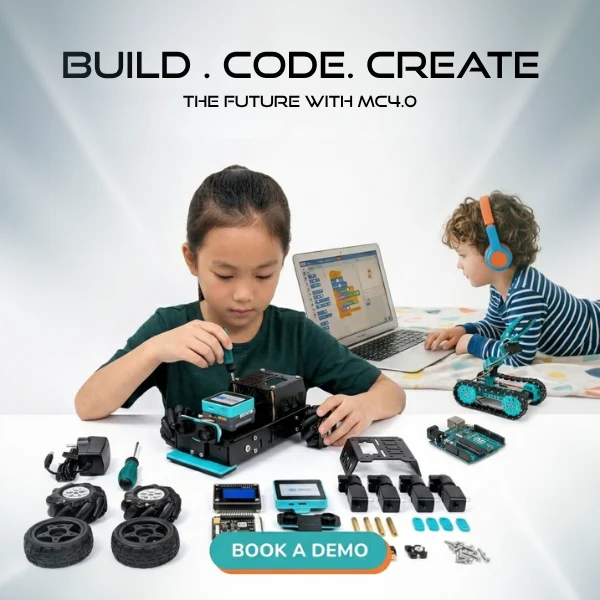
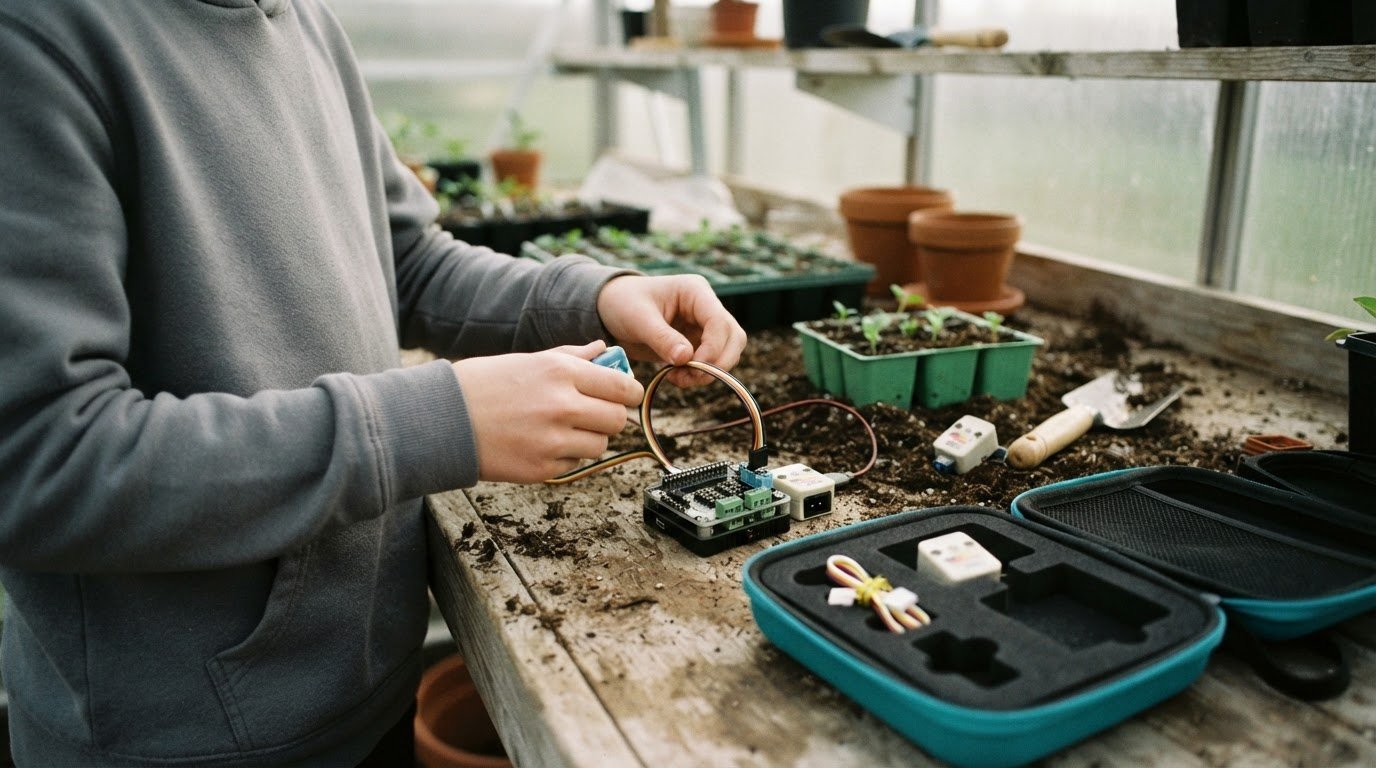
A first IoT project doesn’t need to begin with a complicated system. The Top IoT Kits for Beginners bring together a programmable board, sensors, and the components needed to build connected projects, so you can learn by making. A single ESP32 board can be reused across several projects, from reading room conditions to creating a simple alert.
It’s reasonable to want a kit that makes the first steps clear without limiting what you can build next. The right choice depends on your experience, the projects you have in mind, and whether you want to work with Wi-Fi, sensors, or battery power. Start with a focused project, learn how its parts communicate, then add new functions as your confidence grows.
This guide explains what an IoT kit includes, which beginner-friendly boards and components to consider, and how to move from your first setup to a working project. You’ll also learn what affects power use and battery life, helping you choose a practical starting point for hands-on smart technology learning.
Key Takeaways
- Learn what an IoT kit brings together and how hands-on projects make connected technology easier to understand.
- Compare beginner-friendly boards and components by the projects and connectivity you want to explore.
- Build skills step by step, starting with a simple sensor project before adding alerts or automation.
- Understand how connectivity, sensor activity, and power choices affect battery life.
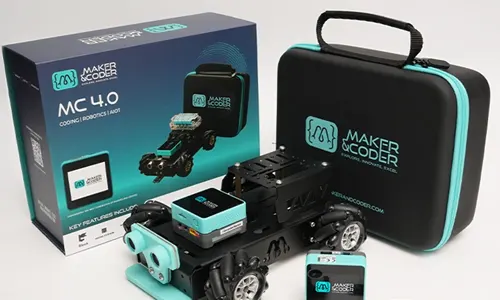
- See how Maker & Coder’s MC 4.0 Kit, MC Blocks, and K-12 curriculum can support structured learning.
1. Why Start with IoT Projects?
IoT projects turn abstract ideas into working systems you can observe and improve. Connect a sensor to a development board, read its data, then use a wireless connection to display or respond to that information. A temperature and humidity monitor is a practical first build: it introduces sensor wiring, data readings, and dashboards without requiring advanced automation.
Which beginner IoT kits include sensors, cables, and a development board? Look for starter bundles that explicitly list all three: the board runs your code, the sensor measures conditions, and cables connect components. Some kits also include a 5V power supply. Check the included-component list against your first project, since kit contents vary.
Plan for the whole project, not just the kit. A board may be reusable across several projects, while each new build can need different sensors, connectors, or mounting materials. A dashboard or wireless feature may also depend on software setup and network access. For example, an environmental monitor needs a suitable sensor, a board, connecting wires, and a way to view readings.
Choose a project that teaches one clear skill before adding features. Start with a temperature and humidity reading, then display the result or create an alert when readings change. A Raspberry Pi Pico W can support projects that read multiple sensor inputs simultaneously. A motion sensor can also introduce smart-home automation, such as switching on a light after movement is detected.
Which computer, operating system, and other equipment do beginner IoT kits require? Use a laptop or desktop that can run the board’s programming tools, plus a compatible USB cable and wireless network for connected projects. The exact operating system depends on the board and software. A stable work surface and basic components, such as jumper wires, help with assembly and testing.
Smart-home projects are engaging, but keep early builds low-risk. Begin with a sensor-based notification or a low-voltage indicator rather than connecting a development board directly to household wiring. Keep network credentials private and use trusted methods when provisioning devices. The National Institute of Standards and Technology (NIST) warns that untrusted credential provisioning can leave networks vulnerable to unauthorized devices.
What safety, privacy, and security risks should IoT kit beginners know about? Consider exposed wiring, accidental access to personal data, and insecure network connections. NIST identifies Control SI-2, Flaw Remediation, from SP 800‑53. The control cannot be satisfied by IoT devices that lack an ability for secure software/firmware updates. Choose learning projects that make updates and careful credential handling part of the design.
For a structured path from sensor experiments to connected builds, explore IoT learning add-on kits. A modular setup can help learners extend projects gradually, while keeping each new sensor or automation feature tied to a clear learning goal.
2. Beginner-friendly IoT hardware
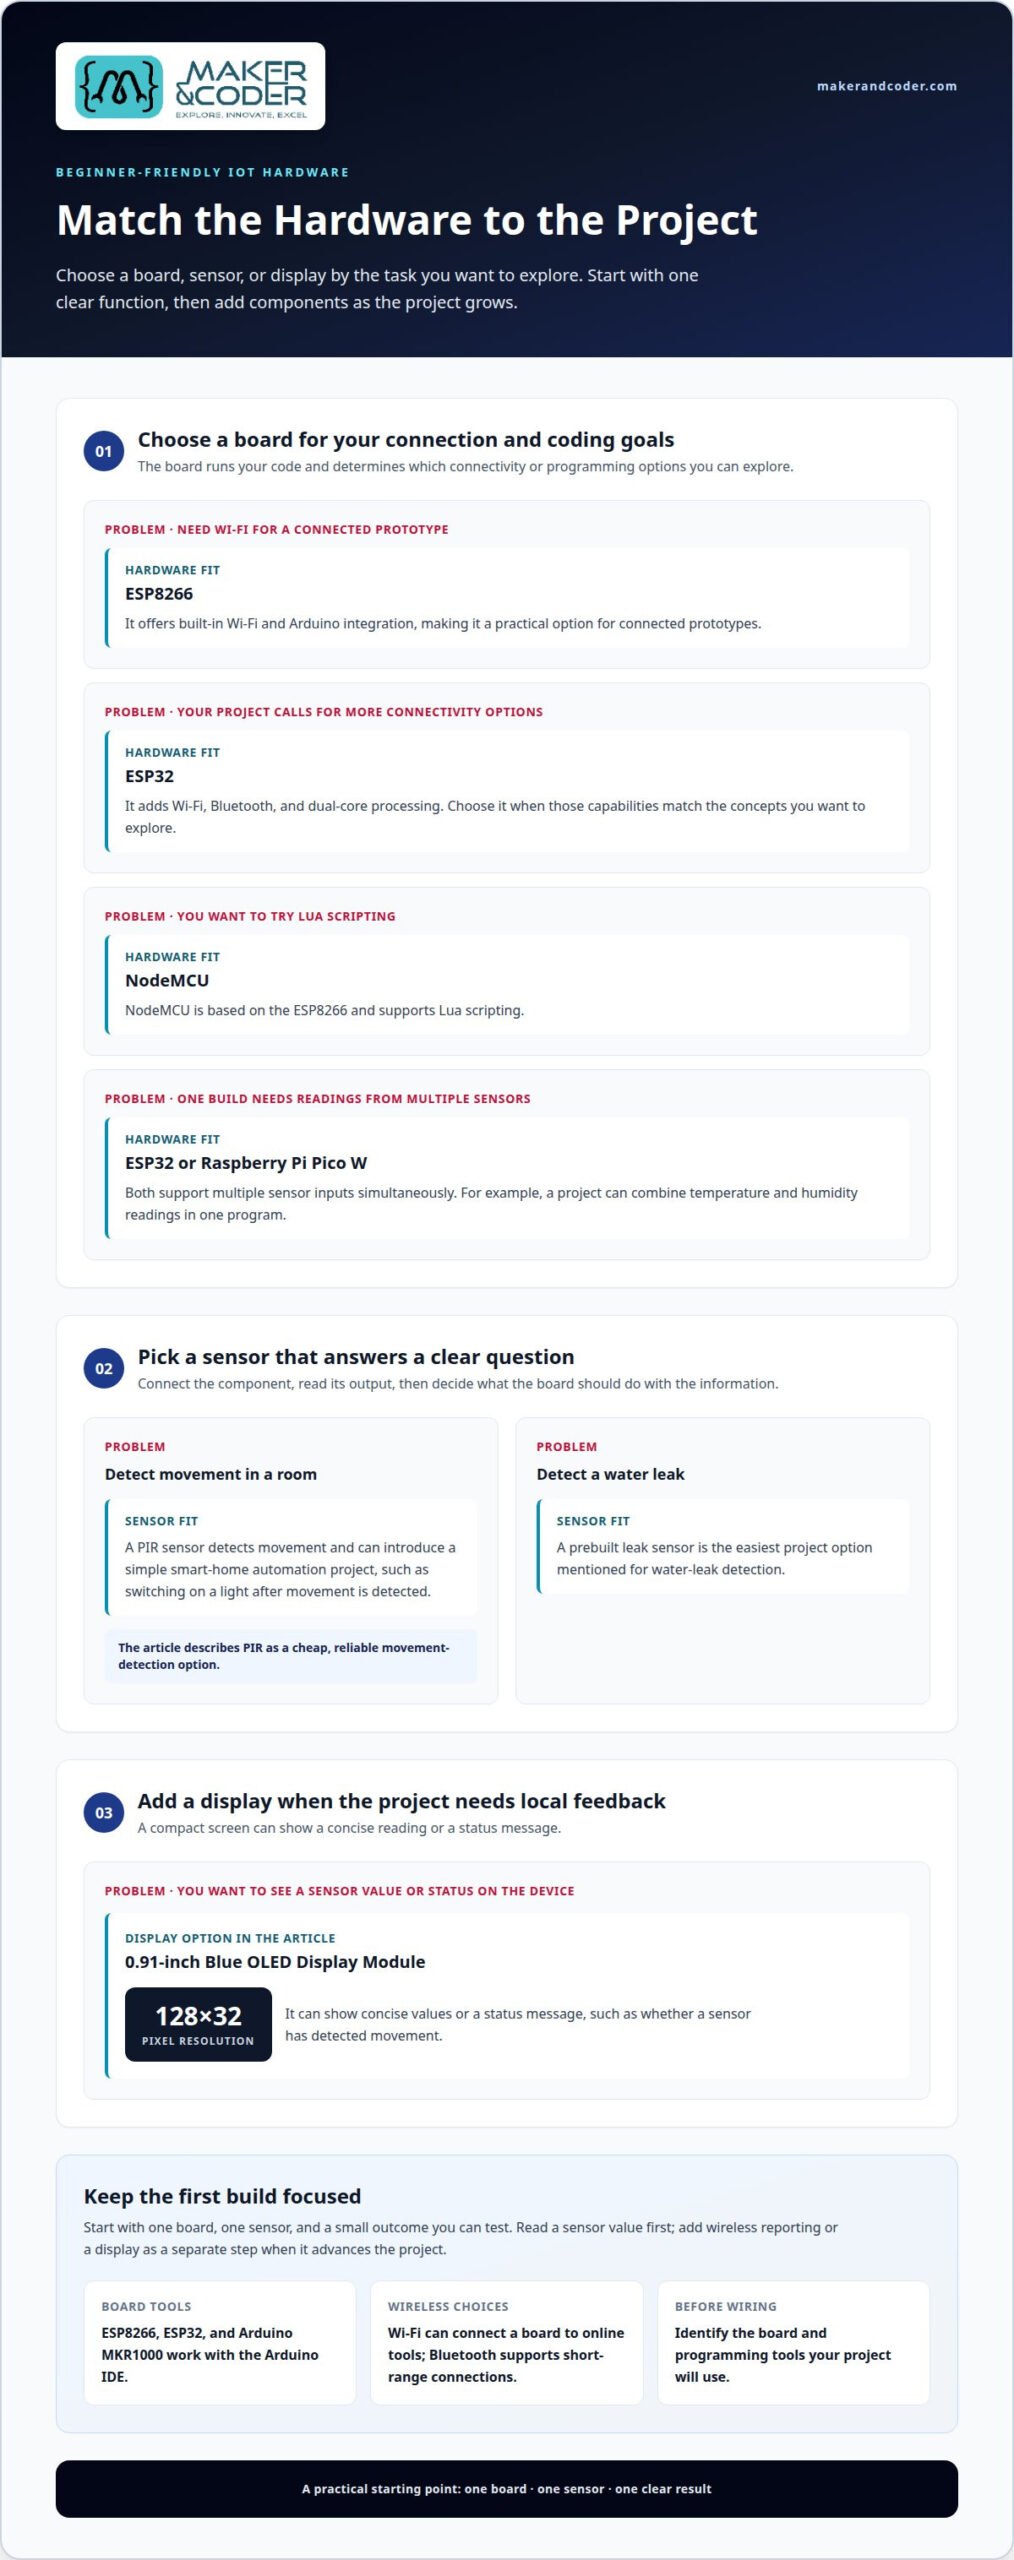
Start by choosing a development board that matches your first build. The ESP8266 offers built-in Wi-Fi and Arduino integration, making it a practical option for connected prototypes. The ESP32 adds Wi-Fi, Bluetooth, and dual-core processing. Choose based on the connectivity and programming concepts you want to explore.
NodeMCU is based on the ESP8266 and supports Lua scripting. The ESP8266, ESP32, and Arduino MKR1000 also work with the Arduino IDE. That gives beginners a clear way to select a platform around their preferred coding environment. Before wiring components, identify the board and programming tools your project will use.
For projects with several readings, the ESP32 and Raspberry Pi Pico W support multiple sensor inputs simultaneously. A build could combine temperature and humidity readings, then compare them in one program. Check the board’s input connections before adding components. This simple planning step helps keep the wiring and code organised as the project grows.
Match each sensor to a useful task. A PIR sensor is a cheap, reliable option for detecting movement, such as someone entering a room. For water-leak detection, a prebuilt leak sensor is the easiest project option. In either case, connect the sensor, read its output, and decide what the board should do with that information.
Add a display when a project needs local feedback. A listed 0.91-inch Blue OLED Display Module uses a 128×32-pixel resolution. It can show concise values or a status message, such as whether a sensor has detected movement. Plan the display alongside the board and sensor, so the code can present useful readings clearly.
Wireless features should serve the project, not complicate its first lesson. Wi-Fi can connect a board to online tools, while Bluetooth supports short-range connections. For a first build, focus on one connection method and one clear result. For example, read a sensor value first, then add wireless reporting as a separate step.
A balanced hardware choice includes a board, compatible sensors, connecting cables, and a power option suited to the build. The right combination depends on whether you’re learning sensor input, displaying data, or testing Bluetooth communication. Begin with one function, then add a display or another sensor only when it advances the project.
For educators planning connected projects around a specific learning goal, discuss your project requirements and the hardware concepts you want learners to explore.
3. Getting started with an IoT development kit
Begin with one board, one sensor, and a small outcome you can test. For example, set up a device to record readings, then show them on a screen or dashboard. Keeping the first build focused makes it easier to identify whether a problem comes from wiring, programming, or the sensor itself.
Next, identify the board’s programming platform before connecting components. The ESP8266, ESP32, and Arduino MKR1000 are compatible with the Arduino IDE. NodeMCU, which is based on the ESP8266, supports Lua scripting. These are the programming languages and platforms supported by the beginner boards covered here. Choose tools that match your board, then load a simple example before expanding its code.
With the programming environment ready, connect the sensor and test its readings separately from any wireless features. Confirm that the device reports changing values when its surroundings change. Then add the connection or display function. This sequence isolates common setup issues and gives each part of the project a clear purpose.
A useful progression moves from monitoring to response. Start with a temperature and humidity monitor, then build an alert that responds to a chosen condition. After that, try motion-lighting or an air-quality project. Each step adds a new programming task: reading input, applying a rule, or controlling an output.
Keep a brief project log as the code develops. Record the board, sensor, wiring changes, and the result of each test. If a reading suddenly changes after adding a display, that record helps identify the latest modification. For classroom projects, the same notes make it easier to reproduce a working setup across devices.
Simple IoT prototypes that demonstrate basic connectivity and sensor reading take 2-4 weeks to develop. Use that process to practise a complete cycle: assemble the board, run the code, observe the readings, and refine the result. The time is spent learning how hardware and programming interact, not simply waiting for a device to work.
Keep the first build modest. Avoid adding several sensors, alerts, and dashboard features at once. A popular learning path uses one new capability at a time, so each programming change has a visible effect. For example, make an alert work before adding a second sensor or changing how devices communicate.
As confidence grows, adapt the same code structure to a new project. A monitoring routine can become the foundation for an alert, while an alert can lead to simple automation. Save each working version before making changes. That gives beginners a reliable point to return to when an advanced feature introduces unexpected behaviour.
4. Power consumption and battery life
Think of the complete build, not only its microcontroller. A wireless board, sensor, display, and indicator each contribute to the system’s demand. A screen that stays lit, for example, draws power differently from one used briefly to show a reading. List every active component, then identify which ones can operate only when needed.
Connectivity also shapes consumption. A device that repeatedly sends wireless updates uses power during those transmissions, while frequent sensor readings keep components working more often. For a remote monitor, decide how often it must report useful information. Less frequent updates can reduce activity, but may make the system less responsive to changing conditions.
LoRa modules provide long-range wireless communication with low power consumption. That makes LoRa worth considering for projects that need to send small amounts of information across a wider area, such as farm monitoring. It isn’t automatically the best fit for every build: the project’s communication needs and the rest of its components still matter.
Battery life depends on average power use over time, not a microcontroller’s name alone. A practical estimate starts with the battery’s capacity and the device’s average current demand. Measure the assembled project during realistic operation, including sensor readings and wireless communication. Then compare the result with how long the remote device must run between battery changes.
Use a simple test cycle. First, run the board and sensor continuously to establish a baseline. Next, add wireless reporting and observe how the demand changes. Finally, test any display, indicator, or automation output under its expected conditions. This sequence helps reveal which component most affects the battery, instead of guessing from a single part’s specifications.
For a battery-powered sensor, reduce unnecessary activity through the program’s schedule. Read data only as often as the project requires, and avoid leaving a display active when nobody needs it. If a device must respond quickly, balance that goal against longer operating time. A useful design makes that trade-off deliberately.
Keep the power source appropriate to the assembled hardware and its intended use. USB suits a stationary prototype near a computer or power outlet; a battery supports placement away from one. Recheck the complete build after adding components, because each added module can change consumption. Record the configuration and test results so later changes remain easy to compare.
5. Beginner-friendly IoT development kits
Compare the Top IoT Kits for Beginners by how well their lessons guide a learner from setup to a finished project. Arduino, ESP32, Raspberry Pi, and micro:bit kits can differ in included electronics, programming workflow, and tutorial quality. Focus on whether the first project has clear instructions, useful code examples, and components that match its goal.
How do Arduino, ESP32, Raspberry Pi, and micro:bit IoT kits compare for beginners? Compare the specific kit contents and learning path rather than relying on the board name alone. A suitable option should explain its setup, help learners make sense of project results, and offer a next step once the first build works.
For a temperature project, check that the kit’s guide shows how the sensor connects and how its readings appear in the program. A tutorial that explains each stage can help learners understand the relationship between the electronics and the code. Look for a complete example, not just a component list or a block of code without context.
Which IoT kits are easiest to set up and use with beginner-friendly tutorials? Choose kits with a clear starting guide, a working example, and troubleshooting steps for common setup problems. A guided project should take learners from connecting the hardware to interpreting the result, with explanations that make each action understandable.
Connectivity choices depend on the board and components in each kit. ESP8266 and ESP32 boards support Wi-Fi, and ESP32 also supports Bluetooth. Cellular connectivity can be provided by a kit using a GSM module, which enables SMS and internet data connectivity where Wi-Fi isn’t available. Match the connection type to the project’s environment.
Which IoT kits support Wi-Fi, Bluetooth, or cellular connectivity? ESP8266 supports Wi-Fi, ESP32 supports Wi-Fi and Bluetooth, and GSM modules enable cellular data or SMS connectivity. The kit’s instructions should explain how to configure its chosen connection and use it in a project.
For a smart-home learning activity, select a kit that lets learners understand one function before extending it. A motion-triggered notification, for example, can help them connect a sensor’s input to a programmed response. Clear project guidance makes it easier to see how each part contributes, then adapt the idea into a more advanced build.
Their beginner suitability depends on the specific kit’s components, programming workflow, and tutorial quality rather than the board name alone. Look for a guided first project with useful code examples, clear explanations, and a next step after the initial build.
Maker & Coder
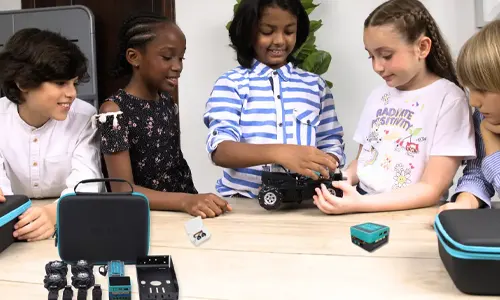
Maker & Coder supports educators who want to turn introductory IoT concepts into a structured learning pathway. The MC Curriculum (K-12) is designed to integrate with its hardware, helping teachers connect practical activities with progressive instruction. MC Blocks and Teacher Training Programs can support educators as they plan hands-on learning and build confidence guiding learners through coding projects.
This is a natural next step when you’re moving from individual experiments to organized classroom learning. Consider how learners will progress from understanding basic code to developing and refining projects, then shape the learning experience around those goals.
Contact Maker & Coder to discuss your learning goals and the next step for your program.
Turn Your First Build Into a Learning Path
Choosing a beginner IoT kit can open the door to deeper curiosity. As learners grow, the most valuable next step is to ask them to explain their design choices, interpret what their device observes, and identify how they might refine it. That shift from assembling a project to thinking like a designer gives each new build a clear purpose.
For educators and families, start by considering who will take part and what kind of learning experience will keep them engaged. A thoughtful plan can help turn early experiments into opportunities for learners to develop ideas, test them, and share what they discover. Maker & Coder’s hands-on, project-based robotics, AI, AIoT, and STEAM education resources can help shape that learning experience.
Ready to discuss your goals? Contact Maker & Coder to get started. Every learner’s next idea can begin with one purposeful step.
Frequently Asked Questions
What are IoT kits?
IoT kits are learning packages for creating connected devices. They may combine a programmable board, electronic components, software, and project guidance, but their contents vary. A kit designed around one learning activity may include fewer components than a broader kit intended for several types of builds. Compare the listed contents with the project’s requirements before choosing, especially if you need components for repeated classroom activities.
What is IoT?
IoT stands for the Internet of Things. It describes physical objects equipped to collect or exchange data through network connections. A connected device can make information available beyond the object itself, allowing people or other systems to use it. For example, a sensor-equipped device can send a reading to a connected service. IoT projects help learners explore how physical devices and digital systems work together.
Where to buy?
Maker & Coder sells its educational kits online. For an IoT-focused option, its IoT Kit is available through the company’s product range. Schools planning a broader learning program can also consider how a kit fits their learners, teaching goals, and intended activities. This keeps the purchase connected to how the hardware will be used, rather than treating the kit as a standalone selection.
Why Start with IoT Projects?
IoT projects give learners a practical way to investigate how connected systems behave. They can observe an input, examine how software processes it, and assess whether the result matches the design goal. That process encourages careful testing and revision. For teachers, a defined project outcome also creates a concrete basis for discussing design decisions, interpreting results, and explaining how connected devices can serve a purpose.
What are the best IoT kits for beginners in 2026?
No single kit suits every beginner. Choose according to the learner’s age, experience, and intended activities. Maker & Coder’s MC4.0 Base Kit – Robotics Starter Kit for Beginners is for ages 07 Years – 15 Years and does not require prior coding experience. The AIoT Robotics Kit works best for teens 15 and up. Compare each kit’s learning materials and components with your goals.
How much do popular beginner IoT kits cost in the United States?
Product pages note “Duties & Taxes Excluded,” so these listed prices do not include duties and taxes. Choose the product that matches your intended learning activities, and consider the components included with that product when planning a project.
What beginner IoT projects can be built with popular starter kits?
Beginners can create a light-level logger that records readings for comparison across different locations. A simple connected status display can also show whether a device is active or idle. These projects introduce data organization and presentation without requiring a complex interface. To extend either idea, learners can add a way to compare readings over time or explain how the collected information could inform a design decision.
Which beginner IoT kits include sensors, cables, and a development board?
Look for starter bundles that explicitly list a development board, sensors, and cables. Check the included-component list against your first project, since kit contents vary.